


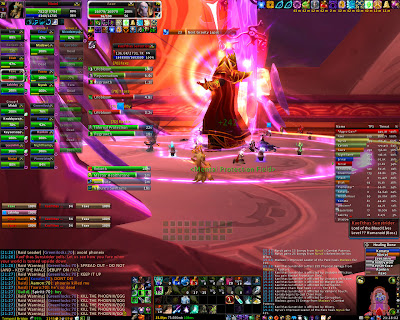
Kael'thas going down!
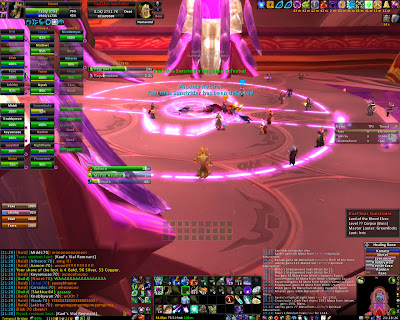
Kael'thas down!
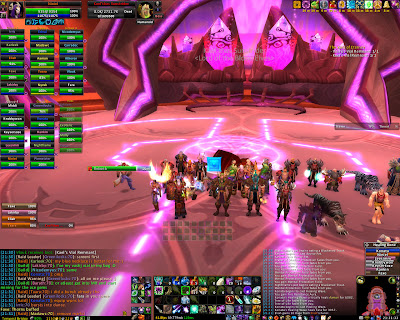
Proud moment
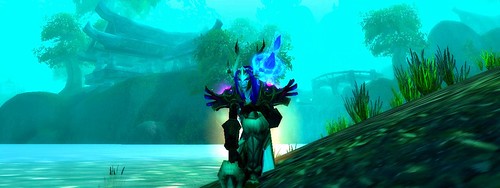
Attuning to Hyjal
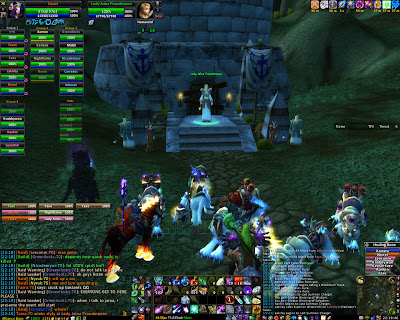
Meeting Jaina
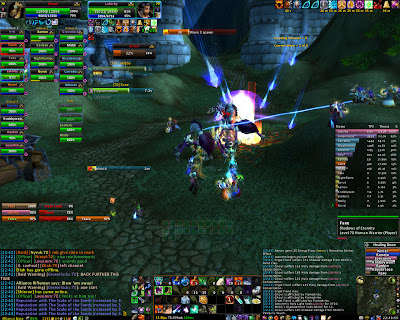
Hyjal trash
We had a great evening yesterday on Kael'thas where we got to phase 5 for the first time with Kael'thas at 30% and we had no real trouble reaching phase 4 in a stable manner several times. Luckily we got exactly the same group composition tonight and could build on yesterdays attempts in such a way that we actually downed him on our second attempt tonight, it was nearly flawless. Hearts were beating like mad and during the last minutes of the fight most hands and fingers trembled with excitement. During the gravity lapses there was a general 'oh my god don't die, oh my god don't die, we are so close, we are so close!' feeling.
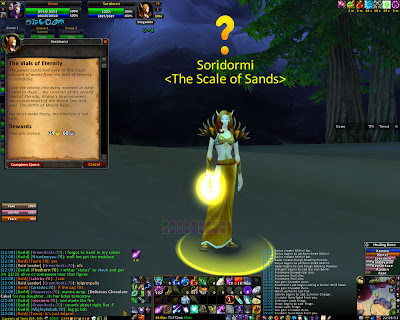
No loot for me but that's not important. A hero and a champion token dropped and we then turned in the quest at Al'ar in Shattrath were others in our guild came to celebrate! We decided to have a peek at Hyjal on 18 players since that's how many that had done both Vashj and Kael'thas by now. We got to wave 8 I think on the trash to Rage Winterchill and it didn't seem that hard considering we were that few. We also had no real strategy and didn't involve the alliance NPC enough so it was hard keeping everyone alive.
This week ended with 4/4 TK and 5/6 SSC. Next week will focus on downing Vashj again for more attunements.
All in all it took us 4 weeks to down Kael'thas with 1 night of clearing 3/4 TK, 1 night farming SSC and 2 nights trying Kael'thas per week. That would be about 8 focused evenings learning the fight with varying raid members. It's amazing how much difference it makes to just switch in one new person that doesn't know the fight and it's back to the beginning. It really helps trying to have a core group learning him first.
Strategy
What's this fight like from a restoration druids perspective healing the main tank then? Let me break it down into phases.
Phase 1
Thaladred
Well, the first phase starts with the currently gazed target leading Thaladred down to the south-east corner while ranged dps nuke him and melee generally avoids him. I sort of strafe and moonfire/wrath/insect swarm him here...not that my damage really matters but if everyone is doing what they should do then no healing is required here. I keep him in my focus target to quickly see if anyone needs emergency healing though. The south-east corner is a good position having him walk a bit further in phase 3 until reaching anyone.Sanguinar
Now Lord Sanguinar activates and our MT is standing by him doing his thing to not get feared at the start. I rejuvenate, regrowth and lifebloom the MT while he moves Sanguinaar into the mid-right section of the room where he dies quickly. I make sure that no HoT's are ticking when he dies by swiftmending just before the kill.Capernian
Now a hunter misdirects Capernian (who sounds really constipated) to our warlock waiting in the middle at the south wall. I change focus target to her so I always see her current target. I'm standing in the south-east corner and we have two paladins standing in the south-west corner and the three of us are in charge of keeping the warlock alive. I start with a Lifebloom as she starts casting then Rejuvenation and Swiftmend if necessary, then Regrowth and it's a matter of keeping the HoT's rolling. I time my Swiftmends and initial Regrowths heal to sync with the paladin spells so that there is minimal wasted overheal. We have a warlock backup behind Capernian in the middle of the room if the first warlock gets Conflagration. That warlock is covered by priests and shaman healing from both sides.Telonicus
When Capernian goes down we have a paladin tank waiting at Telonicus. I'm in the other end of the room so here I always go to cat form and dash to the platform, switch to tree and start my Lifebloom rolls and Rejuvenation. Melee needs to be careful of getting bombed here. Telonicus is tanked a little to the side of where Kael'thas is standing. I Swiftmend my HoT to not have anything ticking and wait for the weapons to spawn.Phase 2
Weapons
I'm covering the paladin tank in this phase who is tanking Phaseshift Bulwark (Shield), Staff of Disintegration (Staff) and the Warp Slicer (Sword). I also backup heal the tank on Cosmic Infuser (Mace) and the tank on Infinity Blade (Dagger). It's important for the tanks to quickly pick up their targets so healing and dps can start here. As soon as I see that the tanks have aggro I start with Rejuvenation on the three tanks then roll Lifebloom on four targets, 3 on the closest tanks and one on a random raid target.The axe is tanked away from the other weapons, the bow can multi-shot and is tanked by a hunter who is facing it away from the raid. The Staff of Disintegration is nuked at the start by ranged and melee is nuking the mace. When the staff is at 20%, everyone moves to aoe positions and start spam-aoeing. As the mace dies I trinket, throw all HoT's on my paladin, innervate and then loot the mace by first using the macro
/target Cosmicto find the mace, then loot it manually and the equip it with the following macro:
/equipslot 16 Cosmic Infuser
 /equipslot 17 Signet of Unshakable Faith
Since it's a one-handed weapon I make sure to equip my off-hand healing item as well. I have to hurry and watch out for spike damage here while looting. The innervate here is the first good moment to get some mana back, I haven't used a potion yet and I'm usually at about 60% mana before popping innervate. Soon after equipping the weapon it's time for the next phase so I throw a final HoT on the paladin tank and follow the MT to where Sanguinar fell and now I'm at 100% mana again.
2 comments:
Congrats! It seems to me like you just started working on him! Does it seem to you like forever? Thanks for all the great healing advice for Trees. My guild is going to start working on him next Wednesday.
It did feel like a long time and impossible at times but it was really only eight 4 hour sessions spread out over four weeks with 25 people making it a total of 800 invested hours :)
Good luck! It's all about extensive planning and knowing every part of the fight in advance and executing it without people dying to silly mistakes.
Post a Comment